Thursday, June 1, 2017

Stool Makeover

I finished a project last week.  Finally.

So I bought this stool last year at a garage sale for $2.  Yes, I couldn't believe it either... only $2!  It was really sturdy and really heavy.

I ripped off the carpet that was on it.

And decided to change it out to a round seat, and make it a bigger seat.  So my husband cut a circle out of plywood and screwed it to the base.  I spray primed the metal base.

My new favorite color was added to bring some life to my junk room... aqua!  I spray painted the legs with Rustoleum Seaside.  

The hardest part of the whole process was finding foam to fit.  I couldn't find a round big enough.  So I bought a square piece from Hobby Lobby that was 21" x 21" and 3" thick.  I laid the stool on top of the foam and used a pen to draw a line 1" out from the plywood base.  Then I used scissors to cut the circle out... haphazardly.  It wasn't that easy 😬

I found some beautiful, bright colored fabric in my junk room color theme... red, aqua, and yellow at our local quilt shop and covered the stool.

The thrill of finding a great piece at a great price is so awesome!  But when you actually get to see the transformation come alive... it's very exciting!

Wednesday, May 31, 2017

It's Been A Busy Time...

It sure has been a busy time on the home front.  Our oldest son left yesterday for his first deployment.  He volunteered for it and is excited about it so that helps a little.  I'm glad Ryan's looking at it as an adventure but I'd prefer he not be on the other side of the world.  Prayers would be appreciate for the remainder of the year, thank you!  God be with him.

Then this beauty graduated from High School (Amariah is on the left). 
Amariah received an OU (University of Oklahoma) Academic Achievement Award for $15,000. So far, TU (University of Tulsa) has granted her $102,000 in scholarships! And she was 1 of only 5 Seniors to be awarded the Oklahoma Academic Scholars Award. This prestigious award is granted only to those that have maintained a 3.7 or higher throughout 9th-12th grade, the top 10% graduating class, and 27 or higher on their ACT.  She will be leaving us this fall to live in a dorm, but not too far away. 

My children constantly amaze me and I'm so grateful that God blessed me to be their mom!  😊💖

With the youngest being very much a home body, Robbie and I plan on being home a lot this summer.  I have a room (and a garage, yikes!) full of projects that have been patiently waiting on me.  We'll venture out every once in awhile but looking forward to getting back to creating!

Sunday, April 2, 2017

Ironstone For A Steal

While out junking recently with my sweet, amazing picker friend, we found a thrift that was mainly clothes.  Reluctantly we checked it out anyway.  Ironstone treasures at prices I have never seen in my life, and great metal pie plates!  $2.25 total for this whole stack!! 😲

At the first piece, I thought surely that's a mistake even for a thrift.

The next awesome piece was the same price.


What is going on here?  Wow!  

I picked up the 3 bowls too because I was just so excited about all the extremely cheap prices.  But notice what they are?  Corning Ware.  Oh well, they're still cute little bowls.  Cracked me up that the thrift priced it more.  Funny how our perceptions are all different.  

And this is where I become a lousy seller because I'm keeping almost all of it, lol!  I have got to start buying things I don't like so I have no problem letting it go.  Anyone else have this problem or is it just me?

Moral of the story... never judge a thrift by its clothes.

It was nice to get some yard work doing over the weekend, but still much to do.  I'm glad I enjoy playing in the dirt so much 😁  Have a delightful week friends~ 

Wednesday, March 29, 2017

Upcycled Embellishment Rack

While I was overhauling the great mess of the junk room, I did take a break every once in awhile to work on this little project.

I have been looking for a spice rack like this while out junking and you know how it is when you're looking for something specific... you never come across it.  I was seeing them all the time.  Then I saw someone painted one and used it for beads.  Aha!  Perfect for embellishments... get them out of all those little containers and I'll actually be able to see what all I have.  But as always for me... I never came across another.  Why does this always happen?  Hahaha!  I don't ever buy or sell on those online groups but for some reason I found myself in one.  And I came across this spice rack for $5.  I immediately contacted the person.  I drove and drove and drove way out in the county and spent more than $5 in gas to get to this baby, lol!  But at least it was a beautiful day and I adventured down country roads that I've never been on.  So it was a nice drive.


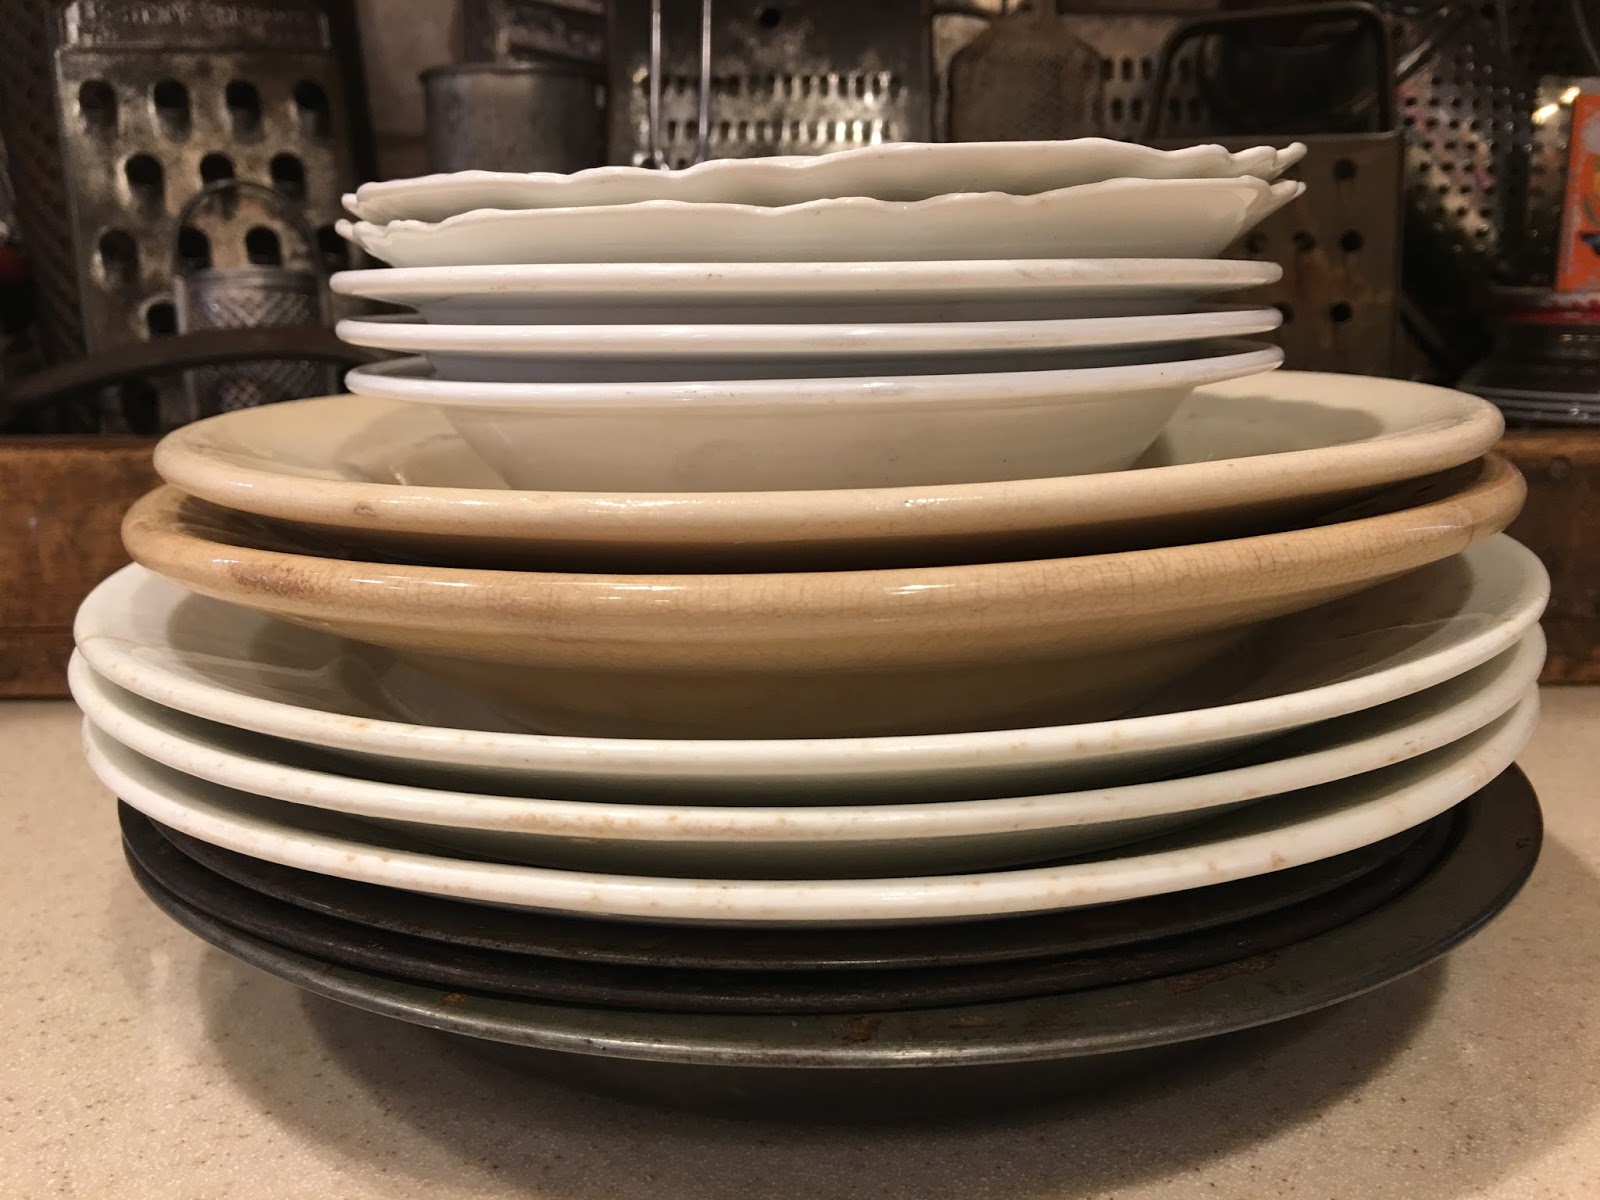
It was definitely used and the people I bought it from even left me some spices, lol!  So the first thing I did was put the jars and lids in a tub of hot soapy water and let it soak overnight.  The jars then went to the dishwasher, while I scrubbed each lid by hand.  I let it all dry overnight.  You want to make sure everything is completely dry before you start to paint or the paint won't stick... no matter what kind you are using.

The first thing I did was spray gray primer on the rack.  I found a thick metal rod that was to be recycled so I put a lid on the end and rotated it in the air as I sprayed primer on the top and sides of each lid.  I was able to set the rod in a bucket of sticks for a few minutes so the lid was not touching anything.  Once it was slightly dry so I could touch it, I moved it over to a piece of cardboard that had a glossy finish to complete the drying.  At this point, you need to be careful where you place your spray painted pieces as it will stick to most surfaces.  Something with a glossy finish or wax paper will work great.

I thought I had more pictures of this process but as I was strolling through pictures, I realized this was the timing of my daughter getting an acute concussion being out of basketball for the rest of the season, along with her being a Sr. Homecoming attendant so there was much going on.  In my junk room I have a little cream, mostly espresso brown and darker vintage colors.  I decided it was time to liven it up and bring in some bright cheery colors.  Along with Gloss apple red, this is the color I've chosen to accent.

What a fun piece to add to my junk room!


I have been able to get rid of numerous little containers.  And it was so exciting to see some of the littles that I completely forgot I had!  

Working on another little project for my junk room but it's going much slower.  Spring cleaning and working in the yard leaves little time for play, sadly.  😉

Wishing you a blessed rest of the week and a wonderfully sunny Spring weekend~ 

Sunday, March 26, 2017

Burlap Bed Skirt

I've been looking at bed skirts for our bed but just haven't come across any that I love.  Also looking for new bedding... which is even harder to find what I want, that I'm picturing in my mind.  So I decided to make a no-sew burlap bed skirt that I came across on Pinterest.  This is the link to the tutorial that I copied:  http://yougotpersonal.blogspot.com/2013/08/diy-no-sew-burlap-bedskirt.html?m=1
Here is what our bed looked like before I started.

I did this while I was spring cleaning so it was the perfect time to get the dust bunnies and give everything a good washing, along with cleaning the mattress with baking soda.  If you don't do this, I suggest you start making it a habit because it really does freshen up mattresses.  Spread baking soda on a mattress and leave on for about an hour.  Then vacuum off.  Doing this every 1-2 months supposedly kills off dust mites too.  

I'm cheating here and telling you that you need to go to You Got Personal's tutorial page to figure how much burlap you will need.  I was blessed with a huge roll of burlap (free!) but it was cut differently so the webpage dimensions didn't help me... which meant I had to figure the math on my own, darn it.  I laid the burlap out on the floor and cut the length of the piece that I needed.  If you don't know the quick and easy way to cut burlap, here is a link that is a huge help:  http://www.craftaholicsanonymous.net/secret-to-cutting-burlap-straight-and I'm telling you, when I discovered this simple tip, I was amazed at how much more I loved burlap and used it more often, haha!  It can be some serious messy stuff sometimes.  


The tutorial called for upholstery pins so not thinking, that's what I bought.  But they are similar to tacks and will not stay in the box spring.  T-pins are what you need.  I used the longer ones, 1 3/4".  Being ocd, I used a tape measure and measured 8" from fold to fold.


I was honestly amazed at how quick this project went.  Seriously two hours total from start to finish and that even included putting the bedding in the wash, taking the mattress off by myself, sweeping the dust bunnies that were living under the bed, pinning the burlap to the box spring, and putting the bed back together!


Best of all... this project only cost me a couple of dollars for the T-pins because I was gifted the burlap.  When my husband saw it and was praising how wonderful it looked, I sweetly mentioned to him that he can take me out to dinner with the $$ I saved, hehe!


Now if only finding the bedding that I have pictured in my mind was this easy, I'd have it made.

Wishing you all a wonderful week ahead!  I'll be busy with my HS Sr daughter playing in 2 golf tournaments and weeding another flower bed... thankfully we have nice weather in the forecast.